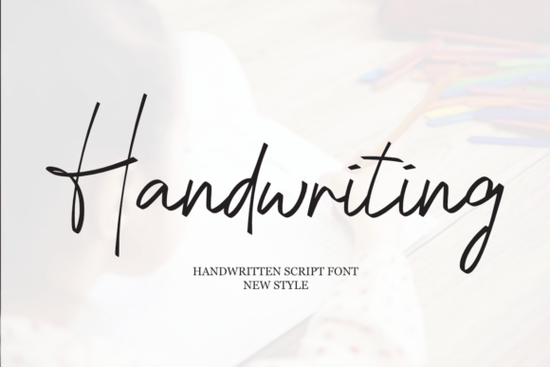
Finding the right typeface for a personal project or client brief often comes down to balancing elegance with readability. The Handwriting Font is a sweet, cursive typeface designed to bring a gentle and romantic feel to your layout. Whether you are designing wedding stationery, crafting a new logo, or creating greeting cards, this script style adds a joyful touch without looking overly formal. It strikes a nice balance between fancy and casual, making it highly versatile for creative hobbyists and professional designers alike.
What makes a good cursive font for wedding and branding projects?
When working on wedding invitations or boutique branding, the typography needs to feel personal and inviting. A gentle script works beautifully for names, dates, and short quotes. If you are exploring other options in the same style, browsing through a curated collection of handwritten script styles can give you plenty of inspiration for your mood board.
For branding, legibility is just as important as aesthetics. You want your clients to easily read the business name while still feeling the romantic vibe. This is where a well-crafted cursive typeface shines. It gives a handmade, authentic feel to fashion lookbooks and marketing materials. If your current project requires something a bit more modern, you might also look into stylish script alternatives to see what fits your specific brand identity best.
How do you pair script fonts with other typefaces?
Pairing a flowing cursive typeface with the right secondary font is crucial for a clean layout. Since script styles have a lot of visual movement and detail, they pair best with simple, clean sans-serif or classic serif fonts.
Here are a few quick pairing rules to keep your designs balanced:
- Use the script for headings or accents: Keep the cursive text for names, titles, or short callouts.
- Use a simple sans-serif for body text: This ensures your longer paragraphs remain easy to read.
- Watch your spacing: Give the cursive letters plenty of breathing room. Avoid squishing the characters together.
If you need a softer secondary font to match the romantic vibe, checking out a delicate option like the Sweet Cupcake typeface might give you some fun ideas for subheadings. Alternatively, a clean, minimalist sans-serif will let the main cursive text stand out without competing for attention. Sometimes, looking at how others pair a Hailey style typeface with basic block letters can help you visualize the final layout.
Where can you use this font for print-on-demand and small business?
Print-on-demand sellers and small business owners need versatile assets that work across multiple products. A sweet, cursive typeface is perfect for creating physical goods that customers want to buy as gifts or keepsakes.
Here are some practical ways to use this style in your shop:
- Apparel: Print short, uplifting quotes or custom names on t-shirts, hoodies, and tote bags.
- Stationery: Design greeting cards, thank-you notes, and custom stickers for packaging.
- Home Decor: Create wall art, throw pillows, and mugs featuring romantic or joyful phrases.
- Event Supplies: Make custom cake toppers, welcome signs, and table numbers for weddings and parties.
When designing for physical products, always test your file at the actual print size. What looks good on a large monitor might be too thin or hard to read when printed on a small coffee mug. If you are designing for a specific niche, like couples' gifts, exploring a soulmate themed script could provide extra inspiration for your product line.
How do you prepare your files for printing and cutting?
Before you send your design to the printer or load it into your cutting machine, run through this quick checklist to ensure your cursive text looks perfect.
- Convert text to outlines: This prevents missing font errors if you send the file to a commercial printer.
- Weld or unify overlapping letters: If you are using a Cricut or Silhouette, make sure the cursive letters are joined into a single cut path so the machine doesn't cut through the middle of the words.
- Check the stroke thickness: Ensure the thinnest parts of the letters are thick enough to print clearly or cut without tearing the paper.
- Proofread carefully: Cursive text can sometimes hide spelling mistakes. Double-check every word before finalizing.
Take a moment to test print your design on regular paper at home. Holding the physical mockup in your hands is the best way to confirm the text size and spacing feel right for your final product.
Explore Design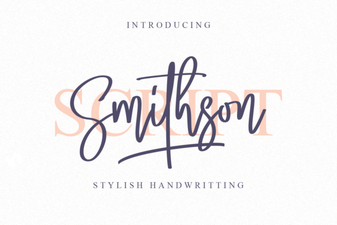 Smithson Font: Design Tips and Inspiration
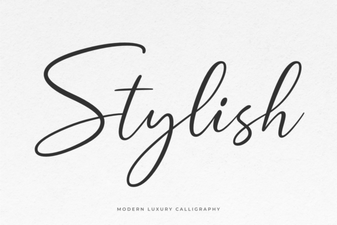 Unlocking Creativity with Stylish Web Fonts
 Hailey Font: Creative Design Ideas
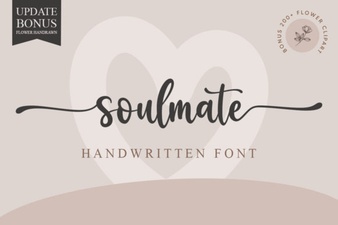 Soulmate Font: Creative Typography for Your Love Story
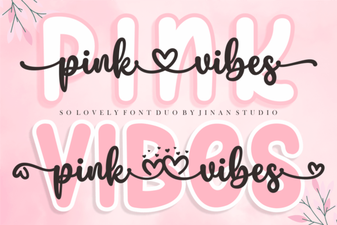 Pair & Design: a Guide to Using Pink Vibes Duo Font
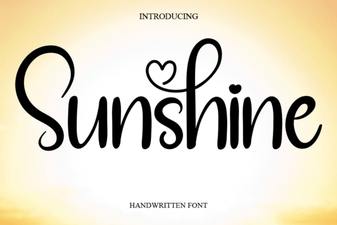 Sunshine Font: Free Download & Creative Project Ideas